KB Replaced by This One: http://www.trailblz.com/kb/?action=view&kb=214&cat=1
There's still good information you can read below but screenshots and upgrades have been included in the new one.
Note:
Something to know about how we work here at Trail Blazer. Our customers call us (everyday in fact!) and ask for things to be added to the software. Because we are the kind of folks who like to please our customers we actually try to complete many of these requests as quickly as humanly possible. What that means to you is that we get something that functions to meet the customer need, but also may require some tweaking in the future. Sometimes just to make it look pretty (prettier?) and sometimes to add still more functionality (someone who was using the feature called and asked for more).
That said, the pictures you see on this page or throughout our knowledge base articles here can become dated rather quickly as we continually strive to add that functionality that you often crave. So all this is just my way of saying - I'm sorry if your screen doesn't look exactly like the shots below.
This section of our software allows you to set some parameters for how your Trail Blazer interacts with you own website.
Some of the things you can configure:
- Enable/Disable the captcha setting (what's a captcha code?)
- Edit Event participant types
- Establish auto-responder templates for email signups and donations.
- Enter the email address for the auto-responders to send web notifications.
- For Donations:
- Set requirement for federal reporting (employer/occupation)
- Show "other amount" - allows donation of any amount
- Establish the suggested donations amounts (7 of them).
Getting to the website configuration panel:
From the Setup menu select Website Configuration. You will see the following screen.
The top section of the screen is for future use and is noted as such.
Using the outline above let's begin with item 1.
Enable/Disable the captcha setting.
Each of the tabs (Calendar Events, Signup,Signup Group, and Donation Information have a check box to Disable the Captcha.
This is how it looks on the Donation Information tab:
To REMOVE the captcha from your website, check the box.
Edit Event participant types
You are allowed up to 5 participant types. You may change the name and whether or not it's be enabled (seen) on the website.
Green colored columns indicate columns you make changes to.
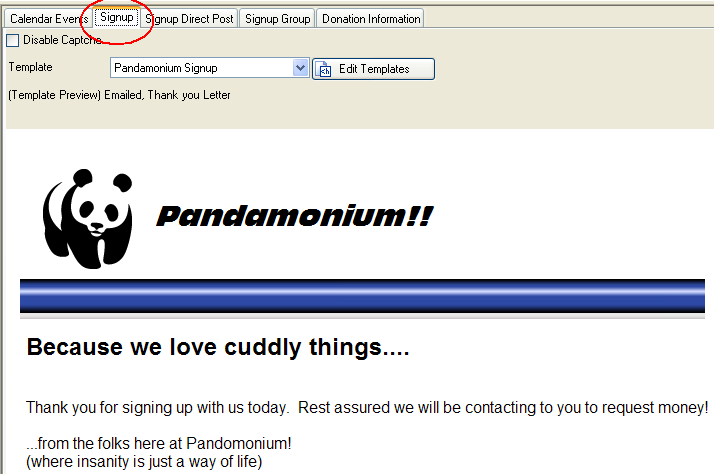
Establish auto-responder templates for email signups and donations.
When someone signs up (or donates), you have the option of sending them an automated response. That response can be a fully formatted HTML email. You can create that email within the template editor or paste one from another HTML editor of your choice.

Enter the email address for the auto-responders to send web notifications.
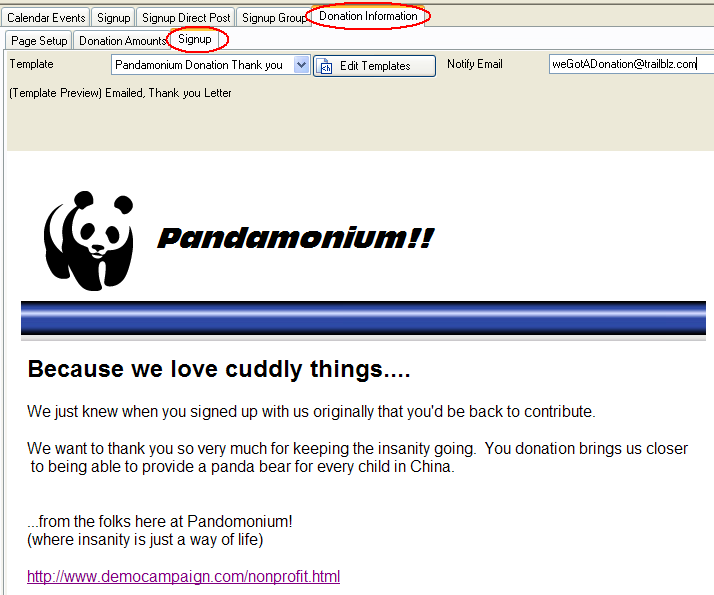
When a donation is made online, you might like to know it happened. This spot allows you to tell the system where you would like that notification to go. Also you can indicate what template the customer will see as a thank you for their donation. This template is editable by you.
Select the
Donation Information tab.
Select the
Signup tab.
Enter YOUR email address into the
Notify Email field.

Set requirement for federal reporting (employer/occupation)
Is Federal Required... Check this box if you are a federal political candidate accepting contributions. It will place the employer and occupation fields on the contribution page.
Show Other Amount - if you would like your donors to be able to choose the own amount to contribute (ie, $25.57), then check this box.
Disable Captcha - when checked will remove the captcha from the donation web page
Show Disclaimer - this is text that will appear on your web page just above the credit card information. The text entered in example1 will show on the web page as indicated in example2.
example1:
example2:
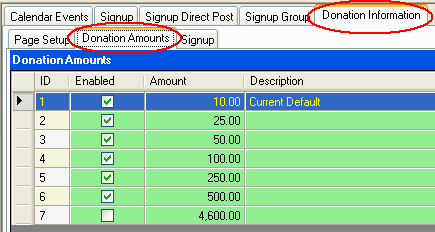
Establish the suggested donations amounts
You may establish up to 7 suggested donation amounts.
If you remove the checkbox from the
Enabled column, that item will NOT show on the web site as indicated by #7.
Green colored columns indicate columns you make changes to.
